Activating Studio Licenses

This licensing guide applies to Studio Site Licenses and Small Business Bundles

Studio Licenses can be activated similarly to individual licenses if you choose to, however they support additional
licensing options for easier deployment.

Things you need

Mari Extension Pack will run for a limited time without activation, until you have to license it to continue using it.
You will need the following to activate it:

For Small Business Bundles ( not site licenses), Internet Connection is required for activation, unless you had asked for a floating license server version. Sporadically after successful activation Extension Pack will re-check the License, requiring Internet Connectivity again 

Creating a License File

Studio Versions of Extension Pack already include a Studio Watermark but need to be activated once regardless. This activation does not require internet access since the check is run against the already included license.

Choose one of the options below to create a license file you can deploy

Creating a License File from within Mari

1. ​Install Extension Pack locally or in a writable location
2. Start Mari and go to the Help Menu
3. Choose the Extension Pack Licensing Option from the Help Menu

4. Enter the email and license key in the Licensing Dialog.
  The license key can be found in the original purchase email

5. If the licensing information was entered correctly, a dialog will allow you to save a copy of the license file

6. Save the license file as lc.ep

Creating a License File using a Text Editor

Extension Pack License files are simple text files named lc.ep

You can create a license file with your details by copy pasting the below into a text file and naming it lc.ep and adding in your Email and License Key. Ensure the " characters and brackets remain where they are.


Beware of illegal, hidden "new line" characters

Some Text Editors (e.g. Pluma on Linux, Wordpad etc.) add hidden characters to files indicating a "new line". These characters can invalidate the license file.
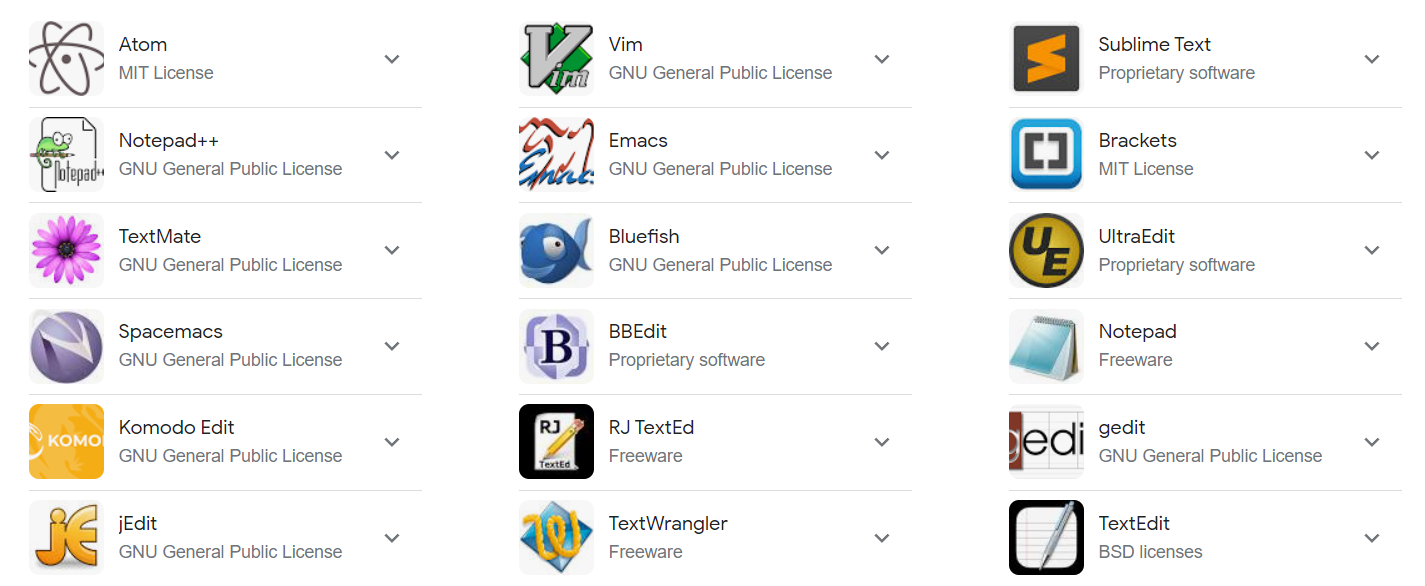
If you choose to create your own license file, it is recommended to use one of the basic editors below or use a proper IDE such as PyCharm, VSCode etc.
{
    "MariExtensionPack2027": {
        "e": "REPLACE WITH EP2027 PURCHASE EMAIL",
        "k": "REPLACE WITH EP2027 LICENSE KEY"
    }
} 

If you are running older Mari Extension Pack Versions alongside this version, add separate license information per version into the file. Ensure the " characters and brackets remain where they are and the different main items ("MariExtensionPack2027", "MariExtensionPack6", "MariExtensionPack5") are comma separated.

{
 "MariExtensionPack2027": {
        "e": "REPLACE WITH EP2027 PURCHASE EMAIL",
        "k": "REPLACE WITH EP2027 LICENSE KEY"
    },
    "MariExtensionPack6": {
        "e": "REPLACE WITH EP6 PURCHASE EMAIL",
        "k": "REPLACE WITH EP6 LICENSE KEY"
    },
    "MariExtensionPack5": {
        "e": "REPLACE WITH EP5 PURCHASE EMAIL",
        "k": "REPLACE WITH EP5 LICENSE KEY"
    }
} 

The License files are standard .json files. You can test if the syntax is correct using an online linter like  jsonlint.com

Deploying the License File for multiple users

One time install Licensing

If you activated Mari Extension Pack through its User Interface ("Creating a License File from within Mari"), and your Extension Pack Install Directory was writable at the time of activation , then your copy of Extension Pack is fully licensed already.

  • Simply deploy it to user machines; or
  • put it on a server location that is read via the MARI_SCRIPT_PATH Env var

Use the MARI_SCRIPT_PATH Environment Variable to define Locations where Mari looks for Plugins and Scripts

Environment Variable Licensing

For studios we recommend licensing Extension Pack via an Environment Variable.

This method has the advantage that Extension Pack stays activated, even if reinstalled or you are upgrading to another version (e.g. 2027.2 , 2028 etc.)

  1. Create a License file ("lc.ep") using one of the ways described above
  2. Point the environment Variable below to the license file
  • MARI_EP_LICENSE_FILE_PATH

Miscellaneous

Setting Internet Connection Time Outs for air-gapped studios

Extension Pack will try to verify your license via a Cloud License Server, only if this fails will it start looking for a local license server. If your studio is air-gapped this online-check can add several seconds to Mari's Startup before it times out.

 The Environment Variable below determines the Number of Seconds, before the Connection times out. By default Extension Pack will wait 4 seconds for the Cloud License Server response.

Setting a higher value can help when you have a slow connection, setting a lower value (e.g. 1) can reduce Time it takes to load Extension Pack if you are an air-gapped studio

MARI_EP_CONNECTION_TIMEOUT

While the above Variable handles the Timeout to the License Server, a secondary Environment Variable handles Timeouts for the Dynamic Content Loading (Tutorials, New Version Notifications etc.) of the Extension Pack Splash Screen.
By default the timeout value is set to 0.5s.


MARI_EP_SPLASHSCREEN_CONNECTION_TIMEOUT

If your Studio is without internet connection, it is recommended to set the timeout to 0.0 to not have any unnecessary waiting times on Startup of Mari. You can do this by either setting the Environment Variable or via Mari's Preferences / Misc Tab / Internet / Splash Screen Time Out Slider.
If the Environment Variable is set, its value will overwrite the Slider Value.

Managing License Seats

Depending on the purchased License Type, your License will come with an activation limit (e.g. for Small Business Bundles you have 10 activations). Activations are recorded per machine (not per user), so a machine shared by multiple users will consume only one activation.

You can manage and release license activations with the Mari Extension Pack Licensing Dialog ( Help / Extension Pack Licensing / Manage Seats ) or by going to the Manage Seats Page

Internet Domains accessed by Extension Pack

For completeness, here is a list of domains accessed by Extension Pack if Internet Access is available:

Online Help: https://docs.mariExtensionPack.org/versionNumber (e.g. 2027)

The Online Help can be downloaded and made available offline

Splash Screen Content: https://www.mariExtensionPack.org/splash/versionNumber (e.g. 2027)

If no Internet Connection could be made, Extension Pack will use included Splashscreen contents (offline mode)

Licensing: hhttps://www.mariExtensionPack.org
  https://api.lemonsqueezy.com

Example Studio Launch Bash Script

Below is an annotated example setup for a linux studio Mari launcher Bash Script

#!/bin/bash
# The Mari Script Path where Extension Pack is located:
export MARI_SCRIPT_PATH = "Path_to_ExtensionPack_Installation"
# The Mari Extension Pack License File, to have easy licensing:
export MARI_EP_LICENSE_FILE_PATH = "/somePath/lc.ep"
# The following is useful for air-gapped studios to reduce Mari Startup time
export MARI_EP_CONNECTION_TIMEOUT = 1
export MARI_EP_SPLASHSCREEN_CONNECTION_TIMEOUT = 0
# If you have downloaded the online help,
# use this to specify where you extracted the zip file to.
# Please refer to "Download Online Help" in the Documentation.
# You can use Extension Pack's own local webserver or specify your own.
export MARI_EP_HELP_LOCATION = "/somePath/ExtensionPackHelp"
export MARI_EP_HELP_PORT = 8080
# The following path is used by Mari Extension Pack
# to determine the "Adobe Substance Bridge":
# Supply it the install Location of either Adobe Substance Designer
# or Adobe Substance Automation Toolkit
export SAT_INSTALL_PATH = "/mnt/SomeServer/software/Adobe_Substance_Designer"
# The below is just an example of the many other Extension Pack Environment Variables
# and Mari Environment Variables  you can set. The below supplies a path to
# HDRI files that Extension Pack will  add to Mari's Shelf
export MARI_IMAGE_MANAGER_ENVIRONMENTDIRECTORIES = "/somePath/library/HDRIs"